How to Clean Laptop Keyboard
Keeping a clean laptop keyboard is more important than you might think. A dirty keyboard isn’t just a cosmetic issue—it can lead to performance problems, stuck keys, and even potential health risks due to the accumulation of germs. In this guide, we’ll walk you through the essential steps to clean your laptop keyboard effectively, ensuring it stays in top condition for years to come.

Introduction
Whether it’s dust, crumbs from a late-night snack, or the occasional coffee spill, a dirty keyboard isn’t just unhygienic—it can also cause your keys to stick or malfunction. Now, Let’s explore how to effectively clean your laptop keyboard to give it a clean appearance and smooth functioning.
Understanding Your Laptop Keyboard
Before diving into the cleaning process, it helps to understand your keyboard a little better.
Types of Laptop Keyboards
Laptop keyboards vary, from mechanical to chiclet-style and even membrane keyboards. Understanding your keyboard type can help you choose the right cleaning method.
Components of a Keyboard

A typical laptop keyboard consists of keys, a base, and often a backlight layer. Beneath each key lies a switch mechanism that registers your keypresses. Knowing these components will help you clean more effectively without causing damage.
Signs that Your Keyboard Needs Cleaning: If your keys are sticking, or unresponsive, or your keyboard looks visibly dirty, it’s time for a cleaning session.
Common Reasons for Keyboard Dirt Buildup
Your laptop keyboard is exposed to a lot throughout the day—crumbs from snacks, dust from the air, and even oils from your fingertips. Over time, all this debris can accumulate between and under the keys, leading to a sticky, unresponsive keyboard.
Potential Risks of a Dirty Keyboard
A dirty keyboard isn’t just an eyesore. It can also cause functional issues, like sticking or unresponsive keys, and may even harbor bacteria and germs that can make you sick. Regular cleaning can help prevent these problems and extend the life of your laptop.
Preparing for the Cleaning Process
Before you dive into cleaning your laptop keyboard, it’s important to gather the right tools and take some necessary precautions.
Tools and Materials Needed
- Compressed air canister
- Microfiber cloth
- Soft brush (like a makeup or paintbrush)
Optional Cleaning Tools for Deep Cleaning
- Isopropyl alcohol (70% or higher)
- Cotton swabs
- Keycap puller (for mechanical keyboards)
- Small screwdriver (for disassembling the keyboard if needed)
Precautions to Take Before Cleaning
- Turn Off and Unplug Your Laptop: Always power down your device and disconnect it from any power source before you start cleaning. This prevents any accidental damage or short-circuiting.
- Consult Your Laptop’s Manual: If you’re unsure whether your keys can be removed or what cleaning products are safe to use, check the manual or the manufacturer’s website.
Types of Laptop Keyboards
Before you start cleaning, it’s helpful to know what type of keyboard you have. This can affect how you approach the cleaning process.
Standard Keyboards vs. Mechanical Keyboards
- Standard Keyboards: Most laptops come with membrane keyboards where keys are attached directly to the board. Cleaning these typically involves surface cleaning and light dust removal.
- Mechanical Keyboards: These are less common in laptops but are known for their durability and tactile feedback. They often require more detailed cleaning as the keys are removable and the switches underneath can collect dust and debris. For the guide to Mechanical Keyboards Click Here
Steps to Clean a Laptop Keyboard

Step 1: Turn Off and Unplug Your Laptop
Safety first! Turning off your laptop and unplugging it is crucial to avoid any electrical hazards. You don’t want any moisture or cleaning solution seeping into your device while it’s powered on.
Step 2: Shake Out Loose Debris
Start by gently turning your laptop upside down and giving it a light shake. This can help dislodge crumbs and dust that are trapped under the keys. We might be surprised by what comes out!
Step 3: Use Compressed Air
After, use a can of compressed air to blow out any remaining debris. Hold the can at an angle and spray between the keys, moving across the keyboard in a zigzag pattern. This will push out any dust particles that are hiding in hard-to-reach places.
Step 4: Clean Between Keys with a Soft Brush
For more stubborn dirt, take a soft brush and gently clean between the keys. A small paintbrush or a clean, unused toothbrush works well for this. Brush lightly to avoid damaging the keys, but thoroughly enough to remove grime.
Step 5: Wipe Down the Surface
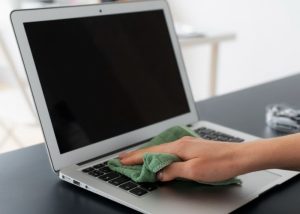
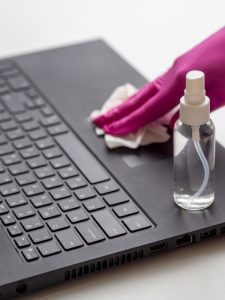
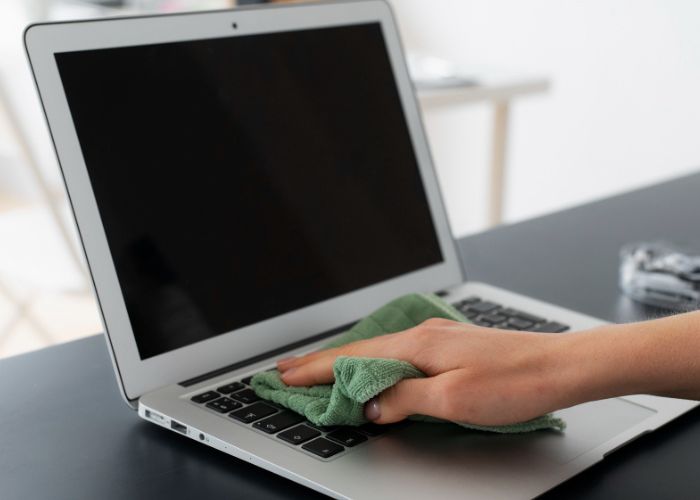
Now that the loose debris is out of the way, it’s time to clean the surface. Dampen a microfiber cloth with a little isopropyl alcohol—just enough to be damp, not wet—and wipe down the entire keyboard. This will remove oils, smudges, and any residual dust.
Step 6: Deep Cleaning Under the Keys (If Removable)
If your laptop keys are removable (and you feel confident doing so), you can carefully pop off the keys to clean underneath. Use your soft brush or compressed air to remove any debris, then wipe the area with a cotton swab dipped in isopropyl alcohol. Be sure to reattach the keys carefully to avoid damaging the mechanisms.
Cleaning Special Cases
Dealing with Sticky Keys
Sticky keys can be a real nuisance. If you have sticky keys, you might need to remove the keys and clean underneath more thoroughly. Isopropyl alcohol is your best friend here, as it evaporates quickly and doesn’t leave a residue.
What to Do If Liquid Spills on Your Keyboard
Accidents happen! If you spill liquid on your keyboard, immediately turn off your laptop and unplug it. Tilt it to the side to let the liquid drain out, and use a cloth to absorb as much as possible. For sticky liquids like soda or juice, you may need to remove the keys to clean underneath properly.
Additional Considerations
Backlit keyboards are sensitive, so extra care is needed. Avoid excessive moisture and make sure no liquid seeps into the backlighting elements. Use compressed air and a microfiber cloth to clean these keyboards safely.
Maintaining a Clean Laptop Keyboard
Regular Maintenance Tips
Keeping your keyboard clean doesn’t have to be a big chore. Regularly using compressed air to blow out debris and wiping down the keys with a microfiber cloth every week or so can keep dirt from building up.
Preventive Measures to Avoid Dirt Buildup
Consider using a keyboard cover to prevent dust and crumbs from getting in between the keys. Also, try to avoid eating over your laptop and wash your hands before using it to minimize oil and dirt transfer.
Common Mistakes to Avoid
Overuse of Cleaning Solutions
Using too much liquid can seep into your keyboard and cause damage. Always dampen your cleaning cloth slightly, and never soak it.
Using Harsh Chemicals or Abrasive Materials
Avoid using bleach, ammonia, or abrasive cleaning materials as these can damage the finish on your keys and potentially harm the electronics underneath.
Neglecting the Keyboard Over Time
Don’t wait until your keyboard is visibly dirty to clean it. Regular maintenance can prevent buildup and keep your keyboard functioning smoothly.
When to Seek Professional Help
If your keys are consistently sticking, or unresponsive, or if you’ve had a major spill, it might be time to call in a professional. They can disassemble the keyboard and clean it more thoroughly or replace damaged parts.
How to Find a Reliable Service
Look for authorized service centers or reputable electronics repair shops with good reviews. Make sure they specialize in laptop repairs to ensure your device is in good hands.

Conclusion
A clean laptop keyboard isn’t just about aesthetics—it’s about maintaining the functionality and hygiene of your device. By following the steps outlined in this guide, you can keep your keyboard in top shape, prolonging its lifespan and ensuring a better user experience. So, take a few minutes to clean your keyboard regularly—it’s worth the effort!
FAQs
How often should I clean my laptop keyboard?
It’s recommended to give your laptop keyboard a light cleaning weekly, with a more thorough cleaning every month or as needed.
Can I use household cleaners on my laptop keyboard?
No, household cleaners are often too harsh and can damage your keyboard. Stick to isopropyl alcohol and microfiber cloths for safe cleaning.
What should I do if I spill liquid on my laptop keyboard?
Immediately turn off and unplug your laptop, tilt it to drain the liquid, and absorb as much as you can with a cloth. Seek professional help if the spill is significant.
How can I prevent the laptop keyboard from getting dirty?
Using a keyboard cover, avoiding eating over your laptop, and regularly cleaning your hands before use can all help prevent dirt buildup.
Is it safe to remove the keys from my laptop keyboard for cleaning?
It can be safe if your keys are designed to be removable. Check your laptop’s manual or manufacturer’s guidelines before attempting to remove any keys.
Thank You for Reading…………………For More

