How to Clean a Keyboard Computer

You need to clean your computer keyboard frequently to maintain hygiene. Your computer keyboard is probably one of the most frequently touched items in your daily life. But how do you actually clean it? If you’re like most people, the answer might be “not nearly enough.” A dirty keyboard isn’t just unsightly—it can harbor bacteria and germs, which could lead to potential health issues. Plus, all that dust, crumbs, and debris can affect how well your keyboard works. So, let’s dive into the steps to clean your computer keyboard properly, keeping it in tip-top shape.
Introduction
Keeping your computer keyboard clean is essential for both hygiene and functionality. Over time, keyboards can accumulate dust, crumbs, and even germs, which not only look unsightly but can also affect the keyboard’s performance. This guide will walk you through the process of cleaning your keyboard, ensuring that your device remains in top condition for years to come.
Understanding Your Keyboard Type
Before you start cleaning, it’s essential to know what kind of keyboard you have. There are a few different types, and each may require a slightly different cleaning approach:
- Mechanical vs. Membrane Keyboards: Mechanical keyboards have individual switches for each key, making them more durable and easier to clean but also more complex. Membrane keyboards, on the other hand, are more common and have a single sheet that registers key presses, making them less durable but easier to clean on the surface.
- Wireless vs. Wired Keyboards: Wireless keyboards add the consideration of battery compartments and the need to handle them more carefully to avoid damaging the electronics inside.
- Laptops vs. Desktop Keyboards: Laptop keyboards are built into the device, so you’ll need to be more cautious, especially around sensitive components.
Understanding what you’re working with can help you avoid causing any damage during the cleaning process.
Tools and Supplies for Cleaning

To clean your keyboard effectively, you’ll need a few basic tools and cleaning solutions. Here is a list of what to gather:
- Tools You’ll Need:
- A can of compressed air
- A soft-bristled brush (like a clean paintbrush or a makeup brush)
- A microfiber cloth
- Cotton swabs
- Keycap puller (for mechanical keyboards)
- Best Cleaning Solutions:
- Isopropyl alcohol (70% or higher concentration)
- Mild dish soap (for deep cleaning)
- Distilled water (to avoid mineral residue)
These tools and solutions will help you clean your keyboard thoroughly without causing damage.
Precautions to Take Before Cleaning
Before diving into cleaning, it’s crucial to take some safety precautions:
- Safety First: Disconnecting Your Keyboard: Unplug your keyboard from the computer or turn off your wireless keyboard to prevent any electrical issues. If you’re cleaning a laptop keyboard, make sure the device is powered off and unplugged.
- Avoiding Damage to Your Keyboard: Never pour liquids directly onto your keyboard. Instead, apply cleaning solutions to a cloth or swab first, and then gently clean the surface. Also, be cautious when using compressed air, as using it too forcefully can dislodge keys or damage delicate components.
Steps to Clean Your Keyboard
Initial Dusting and Debris Removal
- Shaking Out the Keyboard: Start by turning your keyboard upside down and giving it a gentle shake to dislodge any loose debris. You’d be surprised at what can accumulate underneath the keys!
- Using Compressed Air: Use short bursts of compressed air to blow out dust and crumbs from between the keys. Hold the can upright and keep it at an angle to avoid spraying the liquid propellant.
Cleaning Between the Keys
- Using a Soft Brush: A soft-bristled brush is perfect for getting between the keys where dust and dirt tend to accumulate. Gently brush around and between the keys to lift out particles.
- Using a Microfiber Cloth: Microfiber cloth can be very effective for removing surface dust. Lightly dampen it with a bit of isopropyl alcohol and wipe down the keys and surrounding areas.
Deep Cleaning the Keys
- Removing the Keys (If Applicable): If you have a mechanical keyboard, you can use a keycap puller to remove the keys for a more thorough clean. Be sure to take a picture of your keyboard layout before removing the keys, so you know where they go when it’s time to put them back.
- Cleaning Underneath the Keys: Once the keys are off, use a brush and compressed air to clean underneath. Use also to wipe the surface with a slightly damp microfiber cloth.
- Replacing the Keys: After cleaning, carefully snap the keys back into place, ensuring they are secure.
Disinfecting the Keyboard Surface
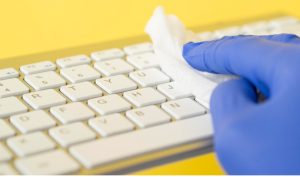
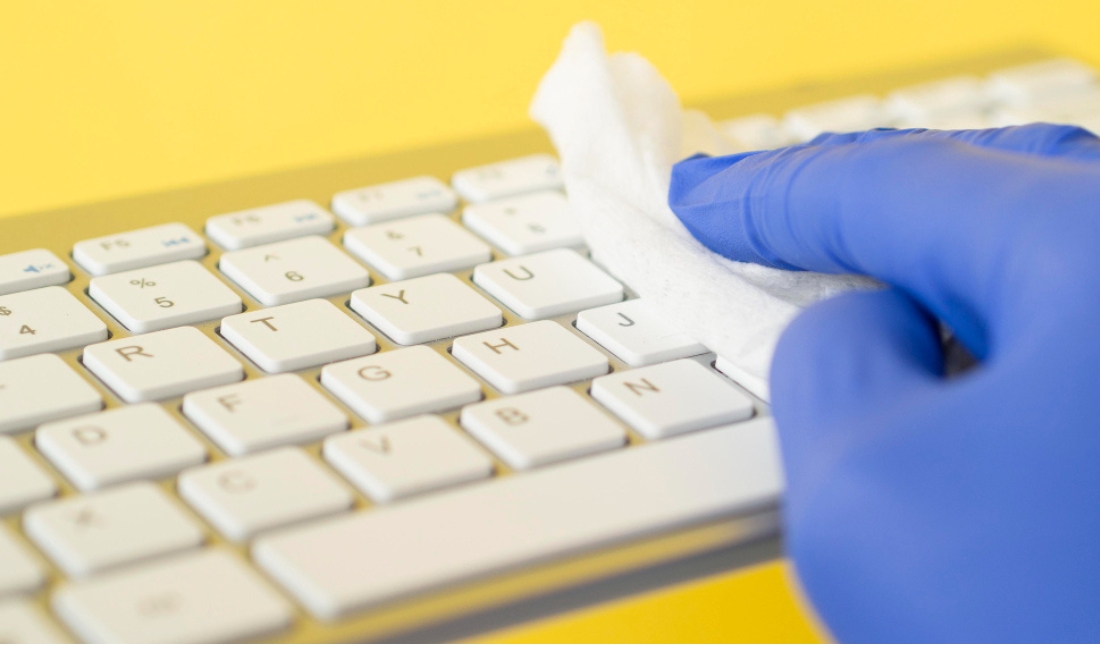
- Using Isopropyl Alcohol: Dampen a microfiber cloth with isopropyl alcohol and gently wipe down the keys and surface of your keyboard. This will not only clean but also disinfect your keyboard.
- Avoiding Harsh Chemicals: Stay away from bleach or ammonia-based cleaners, as these can damage the plastic of your keyboard and potentially harm your health.
Cleaning Specific Types of Keyboards
Different keyboards might require slightly different cleaning methods. Here’s how to handle some of the most common types:
Cleaning Mechanical Keyboards
Mechanical keyboards are more robust and can often be disassembled for a deeper clean. After removing the keycaps, clean each one individually with soap and water, ensuring they are thoroughly dry before reattaching them. Also, pay attention to cleaning around the mechanical switches without dislodging any components.
Cleaning Laptop Keyboards
Laptops require a gentler touch. Use compressed air and a microfiber cloth to clean around the keys, being careful not to let any liquid seep into the device. If a deep clean is needed, consider taking your laptop to a professional. Here is a detailed guide on How to Clean Your Laptop Keyboard.
Cleaning Wireless Keyboards
For wireless keyboards, ensure that you remove the batteries before cleaning. Take extra care not to get any moisture in the battery compartment, and allow the keyboard to dry completely before reinserting the batteries and using it again.
How Often Should You Clean Your Computer Keyboard?
While it might be tempting to clean your keyboard only when it looks dirty, regular cleaning is better.
- Recommended Cleaning Schedule: Aim to clean your keyboard at least once a month for regular use, and more often if you eat or drink near it or share it with others.
- Signs Your Keyboard Needs Cleaning: Sticky keys, visible dirt, or keys that don’t work as well as they used to are all signs that your keyboard needs attention.
Maintaining Your Keyboard
Between deep cleans, there are a few simple habits you can adopt to keep your keyboard cleaner:
- Preventive Measures to Keep Your Keyboard Clean: Avoid eating over your keyboard, wash your hands before typing, and consider using a keyboard cover to protect it from spills and debris.
- Using Keyboard Covers and Protectors: Keyboard covers are a great way to shield your keys from dirt and spills, making them much easier to clean.
Troubleshooting After Cleaning
Sometimes, even after cleaning, you might encounter issues with your keyboard:
- What to Do If Keys Don’t Work After Cleaning: If some keys stop working, check to ensure that they are properly reattached. If the problem persists, there could be moisture or debris under the key switches.
- Handling Sticky Keys and Other Issues: For sticky keys, try pressing them multiple times to loosen any remaining residue. If that doesn’t work, you may need to remove the key and clean it underneath it again.

Conclusion
Cleaning your keyboard is a simple yet crucial task that can improve your device’s lifespan and your own productivity. By following the steps outlined in this guide, you can ensure that your keyboard remains in optimal condition, and free from dirt, grime, and germs. Keeping your keyboard clean isn’t just a matter of aesthetics—it’s about maintaining your health and ensuring the longevity of your device. Regular cleaning, done correctly, can prevent many common keyboard problems and make your typing experience more enjoyable. So, don’t wait for your keys to stick or your fingers to get grimy—make keyboard cleaning a regular part of your routine.
FAQs 
- Can I use water to clean my keyboard computer?
- It’s best to avoid using water directly on your keyboard. Instead, use a dampened cloth or cotton swab with isopropyl alcohol to clean.
- How do I clean a keyboard without compressed air?
- You can use a soft brush to dislodge debris and a microfiber cloth to wipe down the surface. If you don’t have compressed air, try gently shaking the keyboard to remove dust.
- Is it safe to remove the keys from the keyboard?
- Yes, for most mechanical keyboards, it’s safe to remove the keys. However, always check your keyboard’s manual before doing so, and be gentle to avoid breaking any components.
- How do I disinfect my keyboard without damaging it?
- Use a microfiber cloth dampened with isopropyl alcohol to wipe down the keys and surfaces. Avoid using bleach or harsh chemicals.
Thank You for Reading…………….For More

